
TILE & STONE
Precision in Every Line.
Custom tile installations built with careful preparation, deliberate layout, and attention to the details that make the finished work feel intentional.
IRON & OAK TILE
Great Tile Starts Before the First Piece Is Set.
The finished surface is only as good as the preparation underneath it.
Flat substrates, proper waterproofing, uncoupling, layout planning, movement consideration, clean transitions, and careful cuts all matter before grout ever enters the picture.
We treat tile as finish craftsmanship, not simply another material to install.
WHAT WE INSTALL
Tile for the Whole Home
From detailed shower work to expansive floors and backsplashes, each installation is planned around the material, the room, and the finished design.
Custom Shower Tile
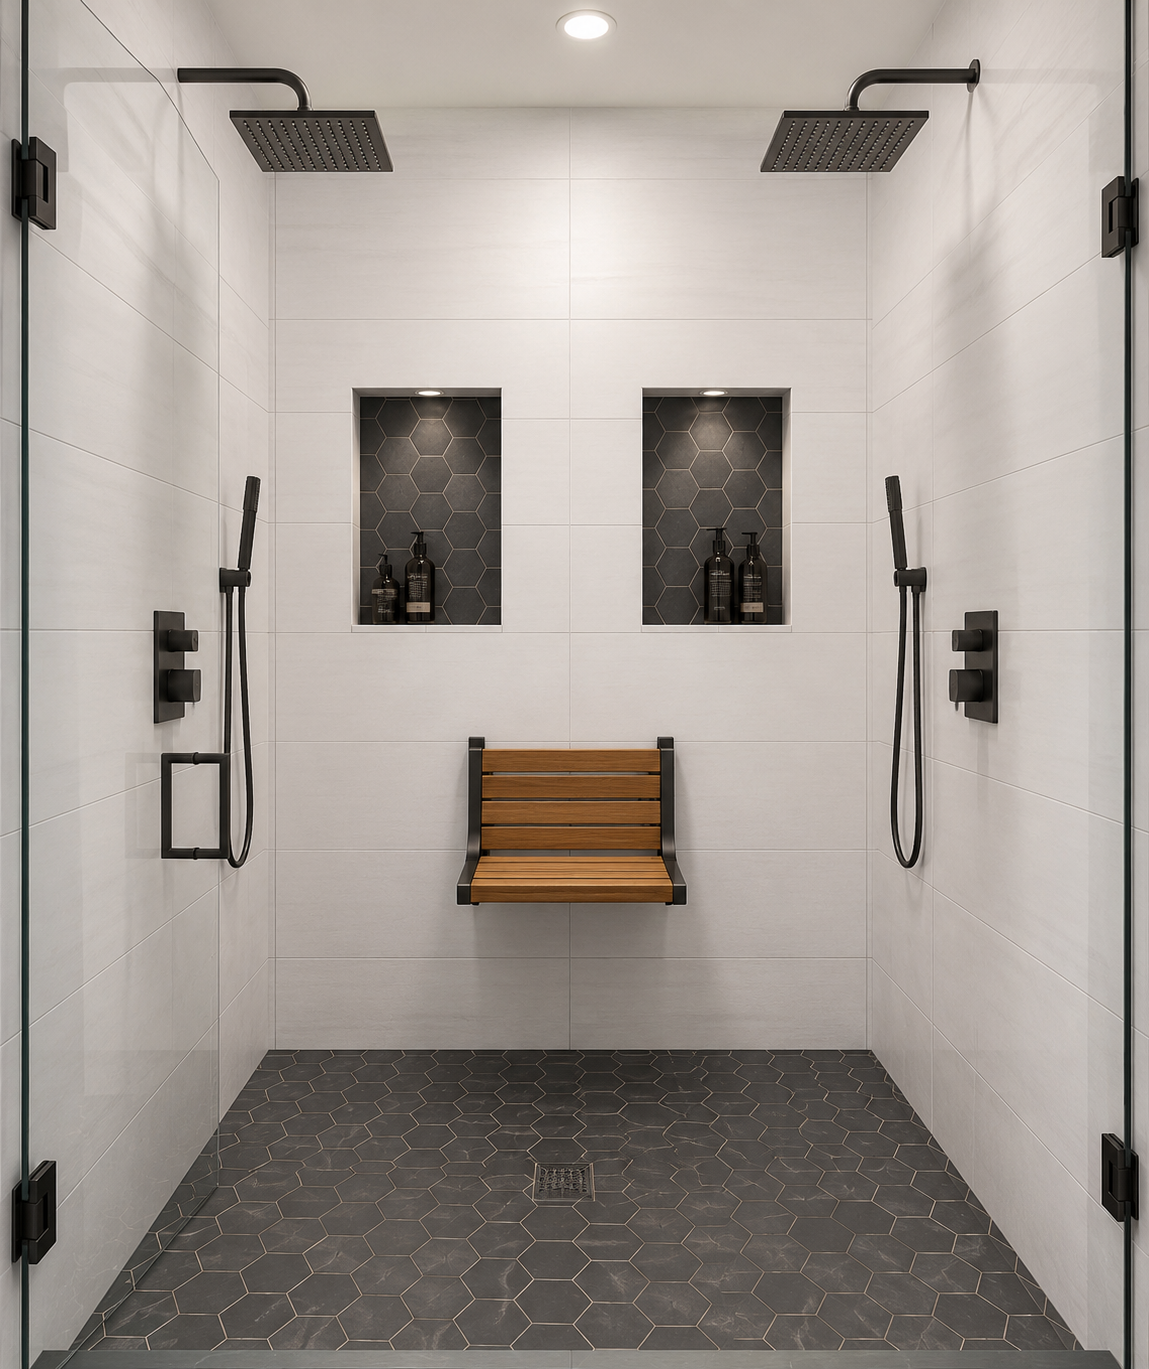
Walls, ceilings, shower floors, niches, benches, curbs, accent areas, and specialty details.
Bathroom Floors
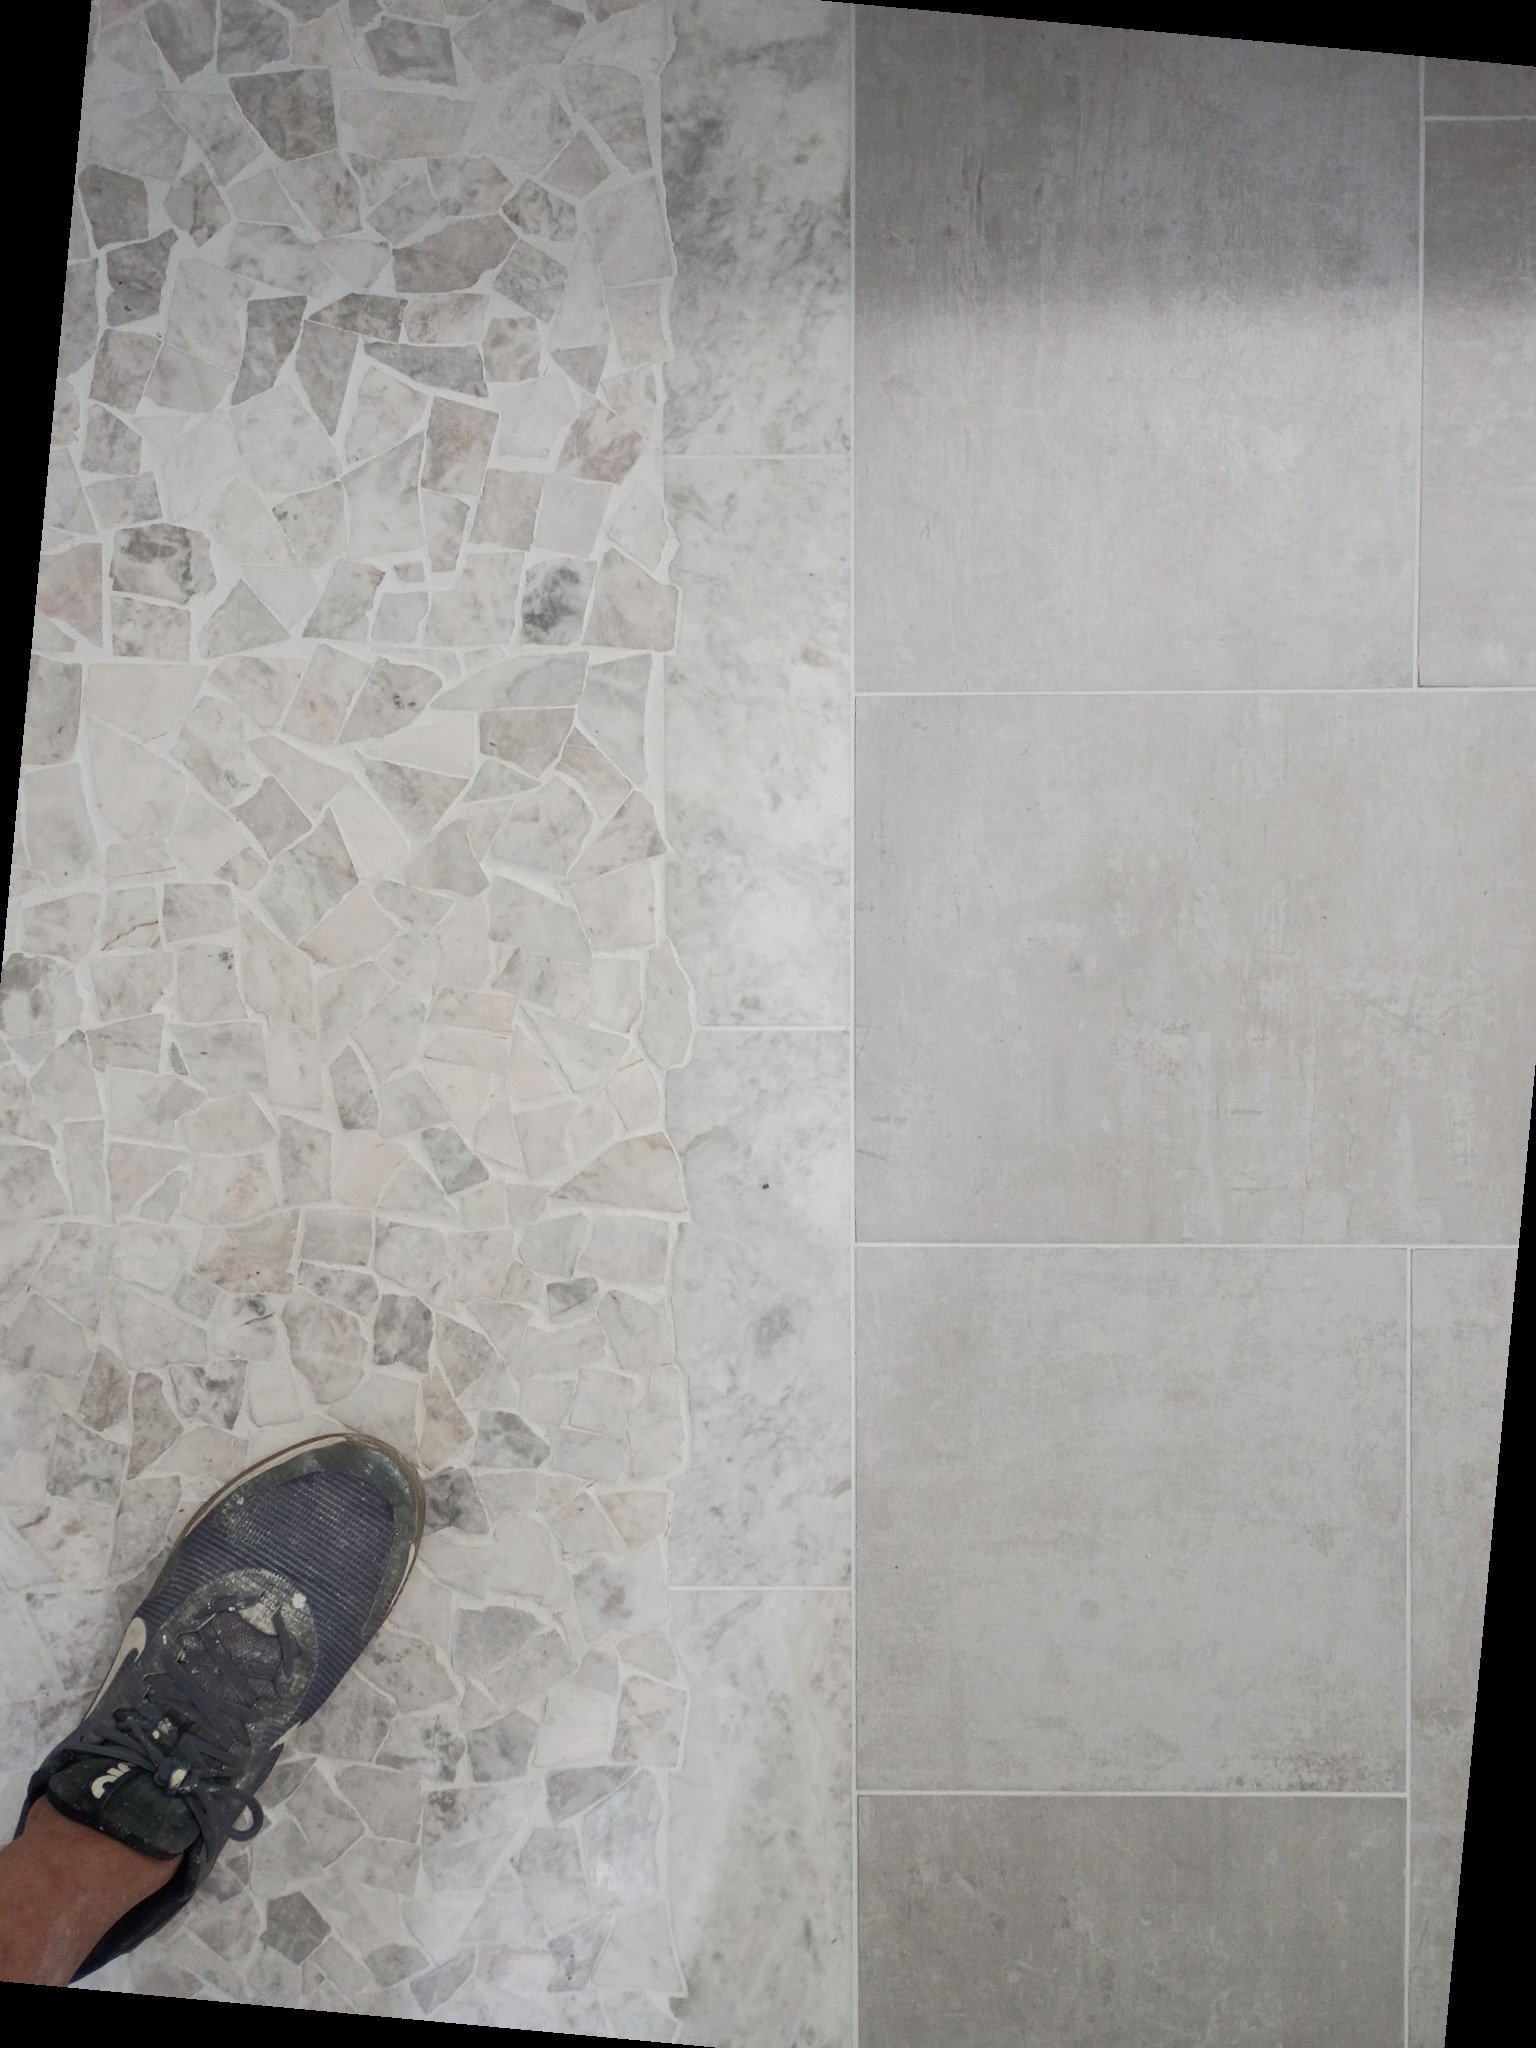
Porcelain, ceramic, stone, mosaics, and large-format tile installed over properly prepared substrates.
Kitchen Backsplashes
Subway tile, mosaics, decorative patterns, large-format tile, trim pieces, and custom transitions.
Large-Format Tile
Oversized porcelain and ceramic installations that require careful substrate prep, handling, coverage, layout, and alignment.
Mosaics & Decorative Tile
Penny tile, hexagon tile, patterned mosaics, decorative insets, niche backs, and specialty accents.
Tile Flooring
Kitchens, foyers, bathrooms, basements, laundry rooms, and other interior tiled surfaces.
LAYOUT MATTERS
The Small Details Change the Entire Installation.
Where the pattern starts, where cuts land, how grout lines carry through corners, how a niche aligns, and how the tile meets surrounding materials can completely change the finished look.
We plan those details before installation instead of trying to solve them after the tile is already on the wall.
- Balanced tile layouts
- Consistent grout joints
- Clean outside corners
- Niche alignment
- Pencil and metal edging
- Pattern continuity
- Clean fixture penetrations
- Thoughtful transitions
UNDER THE TILE
Preparation Is Part of the Installation.
Tile doesn't correct a bad substrate. Walls and floors need to be properly prepared before a quality installation can begin.
Depending on the project, that may include leveling, patching, backer systems, waterproofing, uncoupling, reinforcement, or correcting existing conditions.
Flat. Stable. Prepared.
The work underneath the tile controls how the finished surface performs and how cleanly it can be installed.
LARGE-FORMAT TILE
Fewer Grout Lines. Bigger Demands.
Large-format tile can create a clean, modern appearance with fewer grout joints, but larger pieces place much greater demands on substrate flatness, coverage, handling, and layout.
We account for those requirements as part of the installation rather than treating oversized tile like ordinary material.
And Beyond
Large-format tile can create dramatic walls and floors when the preparation and layout are handled correctly.
OUR TILE PROCESS
Planned Before It's Installed
Evaluate
We look at the surface, material, room conditions, and finished design.
Prepare
Substrates are corrected, reinforced, waterproofed, or uncoupled as required.
Layout
Grout lines, focal areas, cuts, transitions, and pattern placement are planned.
Install
Tile is set, detailed, grouted, finished, cleaned, and reviewed.
IRON & OAK WORKMANSHIP
Lifetime Workmanship Warranty
We stand behind the craftsmanship that goes into our installations.
From preparation through the final grout joint, our goal is to build tile work that looks intentional and performs the way it should.
Talk With Us About Your Tile Project →TILE PROJECTS
See the Details
Browse custom showers, backsplashes, floors, mosaics, large-format tile, and specialty installations.
READY TO TALK TILE?
Let's Look at Your Project.
Tell us about the space, the tile you've selected, and what you'd like the finished installation to look like.
Start Your Project